Home > User Guide

dayCorr

Diamond Loc Attachment System

Installation & Removal Instructions

Important Note:

For optimum fit and ease of installation, right handed operators should install and remove anvils starting on the left end of cylinder, moving left to right. The opposite is recommended for left handed operators.

01

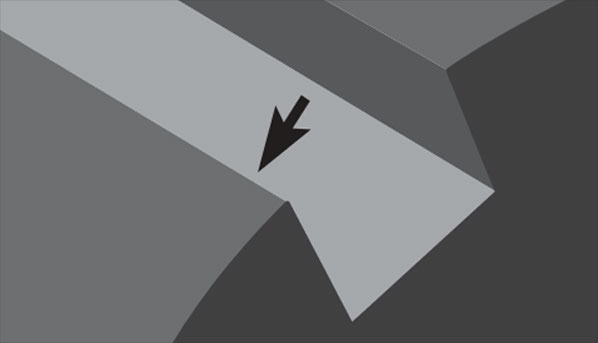
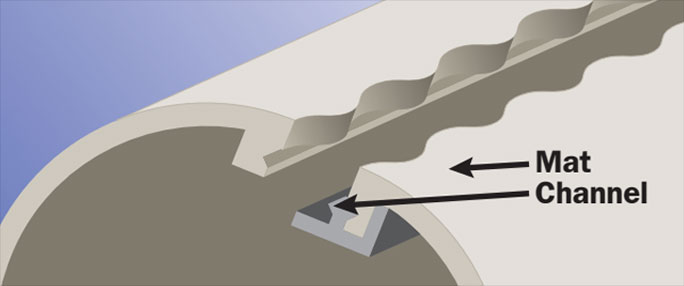
Clean all foreign material from the cylinder slot. Be sure all burrs are removed from slot edge as indicated. Channel should move freely in cylinder slot.

02

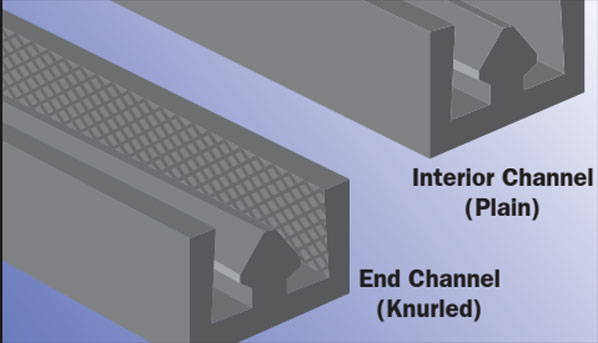
Install Diamond Loc knurled channels at each end position on the cylinder. Mount plain channels in the remainder of the slot. Use the mounting screws provided.

03

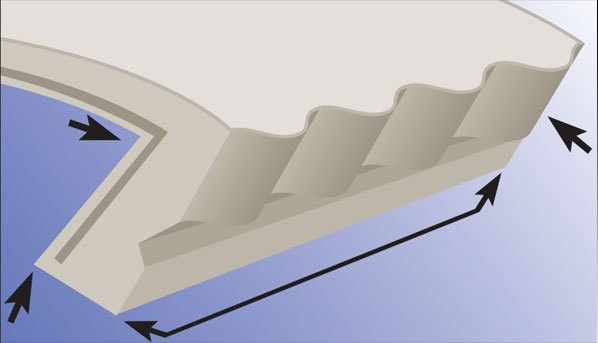
For ease of installation, lubricate both lead and trail flanges of the mat locations indicated.

04

Install Diamond Loc knurled channels at each end position on the cylinder. Mount plain channels in the remainder of the slot. Use the mounting screws provided.

05

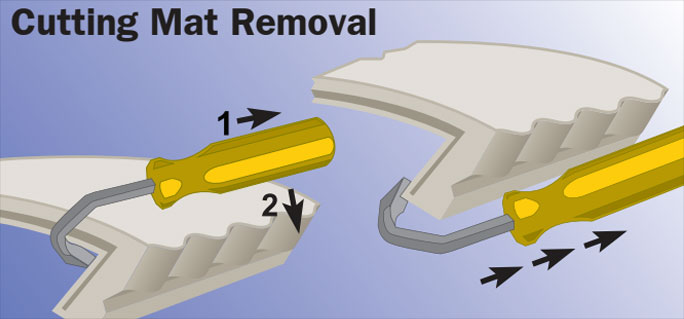
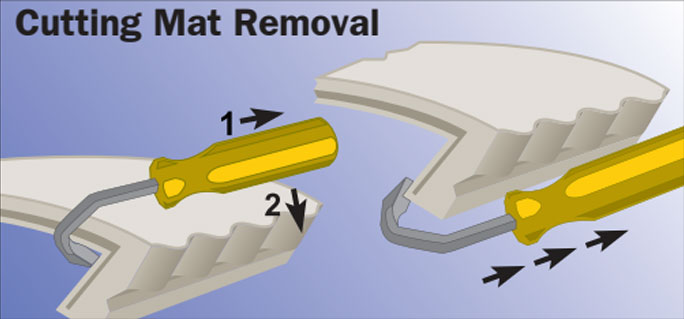
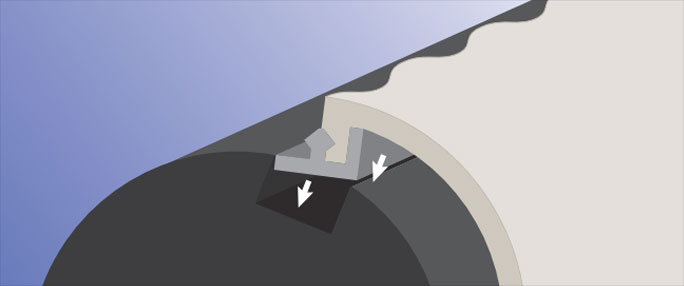
Position the removal tool’s blade at the top of the slot between the surface of the cylinder and under the anvil.

(1) Pull the tool between the anvil and the cylinder.
(2) Press down on the handle to lift the leg from the channel. Repeatsteps 1 & 2 until the removal tool blade can be positioned in the channel and under the anvil. Using two hands, pull the tool across the anvil, keeping the handle parallel to the mat’s surface.
06

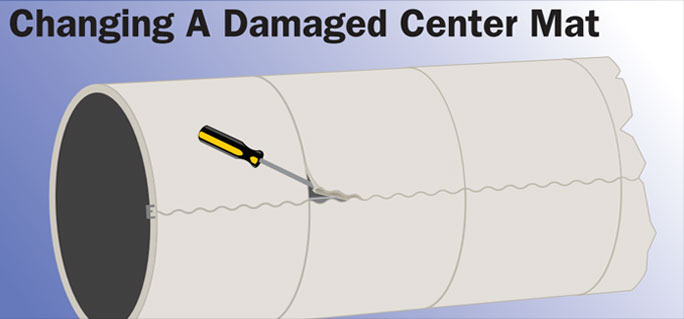
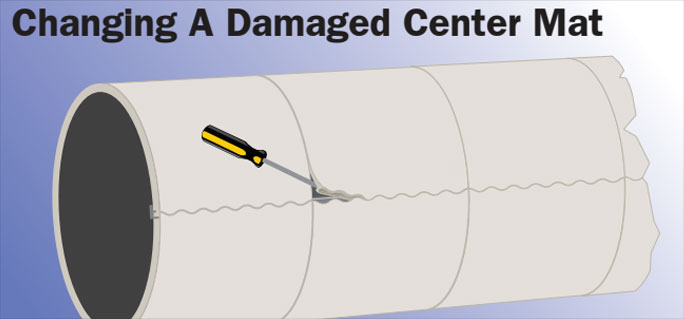
Use a thin blade screwdriver to raise the side of the damaged mat at the corner until it is free of the channel*. Insert the removal tool and pull across the mat as in normal removal.

*Typically, at this point, the mat can be pulled out. If not, use the screwdriver as above to free the other end.
dayCorr

Diamond Loc Attachment System

Installation & Removal Instructions

Important Note:

For optimum fit and ease of installation, right handed operators should install and remove anvils starting on the left end of cylinder, moving left to right. The opposite is recommended for left handed operators.

01

Step 1

Channel is attached to mat when received.

02

Step 2

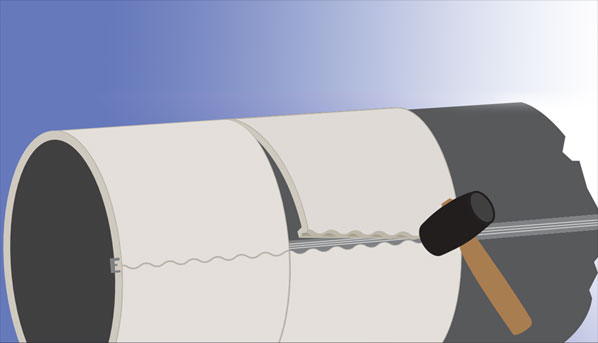
Install lead end of mat on cylinder, tap down with hammer. No screws required to hold channel in place.

03

Step 3

Rotate the cylinder, tap tail end of mat into channel with hammer.

04

Step 4

Position the removal tool’s blade at the top of the slot between the surface of the cylinder and under the anvil.

(1) Pull the tool between the anvil and the cylinder.
(2) Press down on the handle to lift the leg from the channel. Repeat steps 1 & 2 until the removal tool blade can be positioned in the channel and under the anvil. Using two hands, pull the tool across the anvil, keeping the handle parallel to the mat’s surface.
05

Step 5

Use a thin blade screwdriver to raise the side of the damaged mat at the corner until it is free of the channel*. Insert the removal tool and pull across the mat as in normal removal.

*Typically, at this point, the mat can be pulled out. If not, use the screwdriver as above to free the other end.